
(Dynamic Image Analysis System) instructions
On 10 August 2004 we got a new G4 running OSX and installed new DIAS 3.4.1. Thus,
new instructions.
First Draft, of course. Email changes here
or scribble on a printout & drop off at Michael's office.

********************************************************
If you are tracing in ImageJ to prepare for DIAS or for other measurements, such as
using the tracings as masks for measuring fluorescence levels, BEFORE TRACING
run this macro prepare-for-tracing02.txt
or do an equivalent yourself using the Process-->Math command in ImageJ.
The point of this is to make sure that the traced areas are a unique value not used
anywhere else in the image. For instance, the image will be displayed using the
grayscale range 2 to 253 with all your traced areas being 0 or 255.
********************************************************
The simplest way to trace is to
- Open the time lapse into ImageJ.
- Run the prepare for tracing macro.
This macro must be run once before doing any tracings.
You may instead use a math function of your choosing.
- Make sure the background colors are set to some combination of white and black (0 and
255).
Edit-->Options-->Colors
- At each timepoint, trace the cell. It may be selected as a traced object by simply
cutting <ctrl>x or filling <ctrl>f.
(The first time, drag the mouse over the traced are and check that the value is 0 or 255).
- Save repeatedly while tracing so that if you make a mistake, you don't lose all the
tracings.
- When you are done with all the tracings, threshold and apply the threshold in ImageJ so
that your image consists of traced areas in white and cells in black (or vice versa).
- Save as a TIF or uncompressed AVI.
- Move ther file to a Macintosh.
- On the Macintosh convert the files to a folder of tifs with the DIAS numbering
convention which must be 1, 2, 3... not 01, 02, 03...
Use this macro to-DIAS-ver201macver.txt to do this.
The instructions are at the beginning of the macro which is a simple text file.
You may read them.

Files must be one of a few very specific formats.
Here are the two simplest:
- Quicktime. Files must be saved with NO COMPRESSION if you want tracings from the
AIF's IimageJ macros to be compatible.
- A unique folder for each sequence containing uncompressed 8 bit grayscale tif files
numbered beginning with "1" to n.
The numbers must not have leading zeros. The sequence must begin with "1"
and not "0".
The files may not have any extension. In DOS this may be rectified by:

Any mistakes in a file's name will result in failure of opening the entire sequence.
More detailed instructions:
- Make a series of new folders.
Each folder will contain one and only one time lapse sequence for DIAS.
No folder may contain a space or plus sign "+" in the name.
"HDKrun3" is an okay name and "HDK run3"
is not ok.
This is a good structure for saving files:
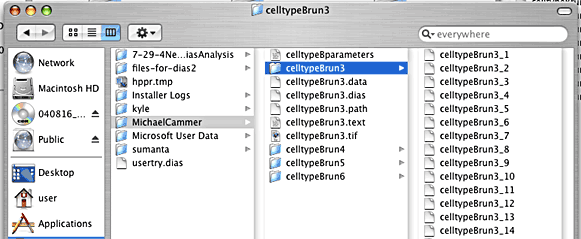
- Run ImageJ.
On a Macintosh:

On a PC:
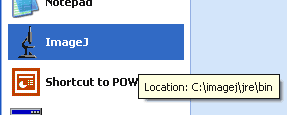
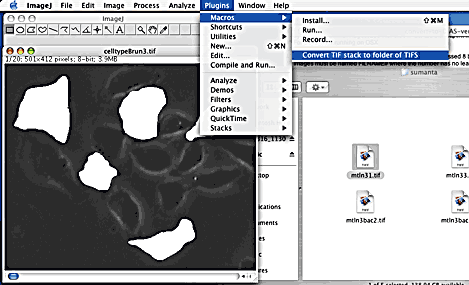
- Install the macros. Plugins-->Macros-->Install
On a Macintosh OSX: to-DIAS-ver201macver.txt
- With the stack open, run the macro
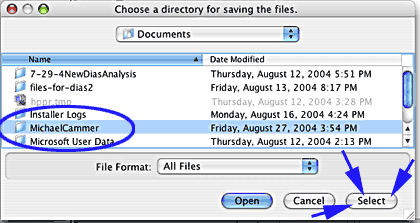
- In the macro, choose the directory to save the files in and click "Select".
Do not go into the directory where the files are supposed to go.

- Open the files. (Dragging the first file onto DIAS icon also works.)
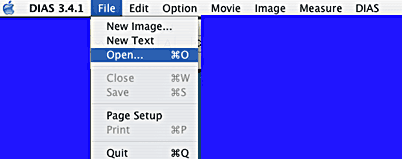
- Click on the first in the sequence.
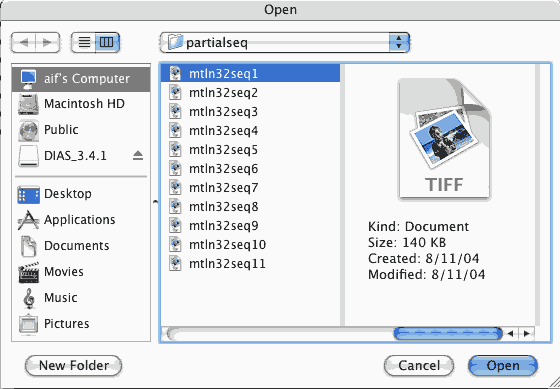
- Yes!

- Give it a save name.

- We're using DIAS, so save as DIAS.
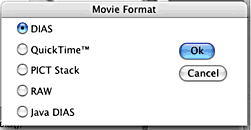
- I'd click No.

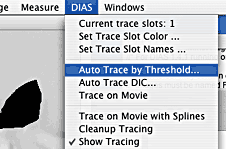
- Trace.
- Ho many frames do you want to process?
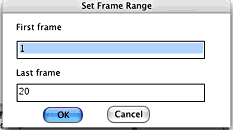
- No selects the entire field which is usually the correct choice.
Yes asks you to draw a region on the image.

- This is the window you get if you clicked No. Just click OK.
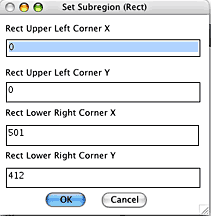
- Look at the numbers used here. Use the same ones.
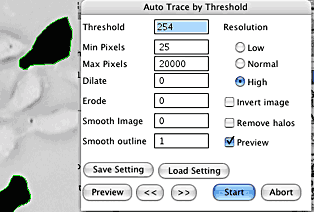
You may save the settings for use on other files.

- You need to make a Path File before you can do any quantification.
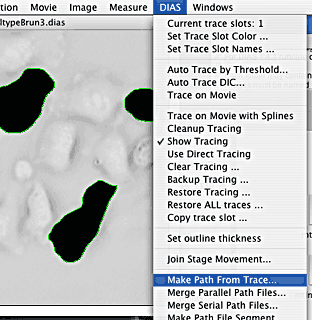
- This makes the paths.
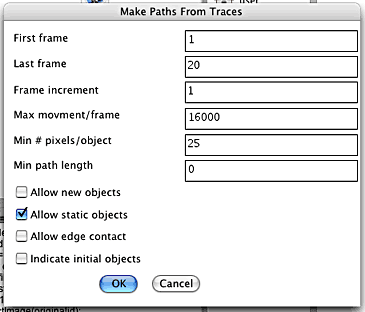
- Interior pixel data are not relevent for these types of tracings so click No.

- Luminance is not relevent for these types of tracings so click No.

- Example result.
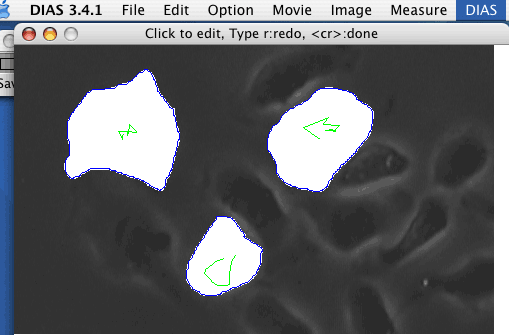
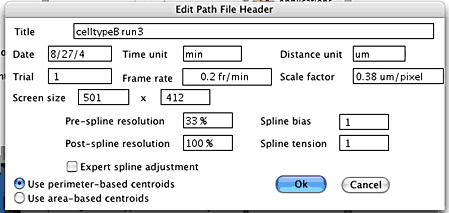
- The paths must be saved with the correct information.
For instance, 15 second intervals = 4 fr/min.
2X2 binning with 60X on CCD#1,2,4,5 0.11 um/pixel. (More click here.)
And use Perimeter Based Centroids.
The entry shown here is for one image every five minutes with our Diaphot time lapse
setup with a 10X objective and the video card in the SVGA collection setting.
- Now you may do measurements.
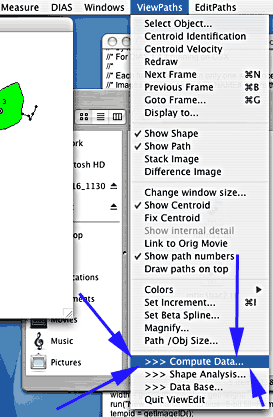
- Open the path file.
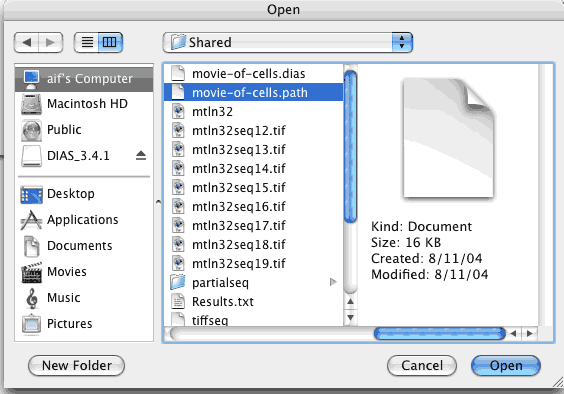
- Check what you want to know.
The Database File may be very useful for more detailed analysis later.
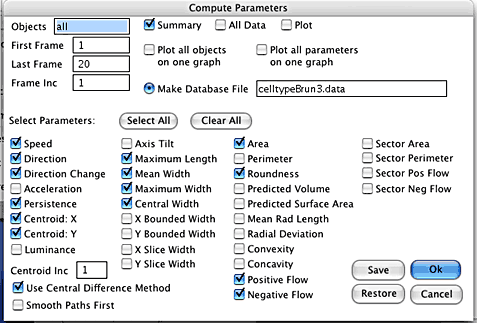
- Ok.
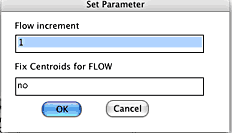
- Yes!
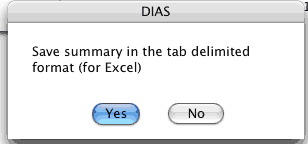
- Example results:
Immediately rename this results table to prevent loss when creating a
new table!

Other Features:
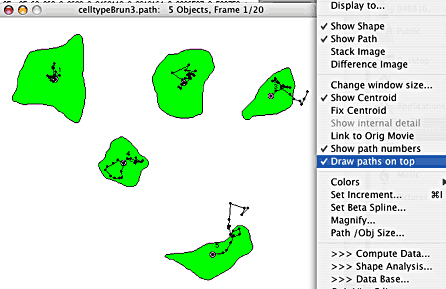
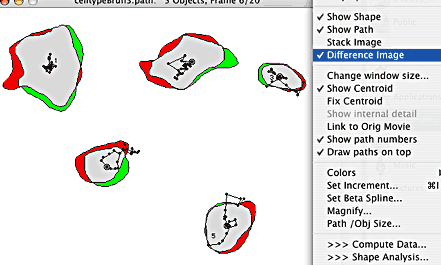
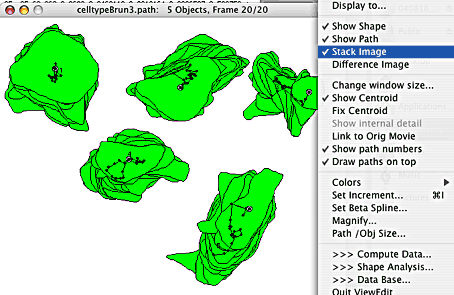
Here's a quick-and-dirty non-DIAS way to see where the cell dwells.
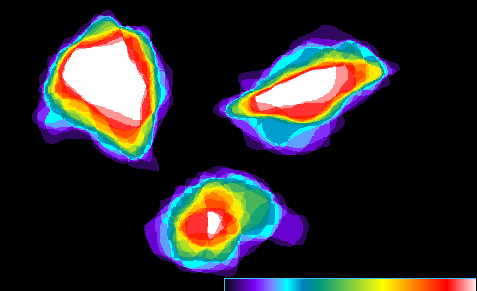
The white shows the locations where the cell dwelled at every timepoint. Black
shows where the cell didn't go at all. From violet (brief dwell) to green to red
shows the cell staying more in a given location.
This image was generated from the tracings simply by an average pixel projection with LUT applied.
Another similar method here.


