We provide four ways of doing macro photography.
- The most simple is a 2 megapixel snapshot camera, a Sony DSC-P31.
Typically, we use this as a simple handheld camera.
- A dissection microscope with a
Retiga 1k camera. This bridges the magnification from macro imaging to true microscopy.
Also, this system includes fluorescence for imaging GFP or other probes in culture
or in live animals.
- D70 with 60mm 1:2.8 lens 6 megapixel single lens reflex camera.
As you may see in the images below, this is useful for documenting objects on the
scale of a few mm to cm with higher resolution than with the dissection microscope or
snapshot camera.
- The AIF has a few video cameras, (S)VHS recorders and digitizing
boards for the computer. These provide the lowest image quality but may image at 30
fps or even 200 fps at lower resolution.
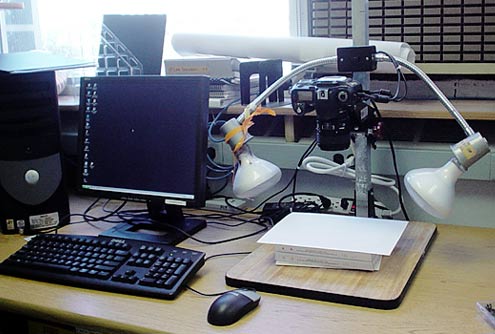
D70 for macro photography
Example of D70 for macro
photography
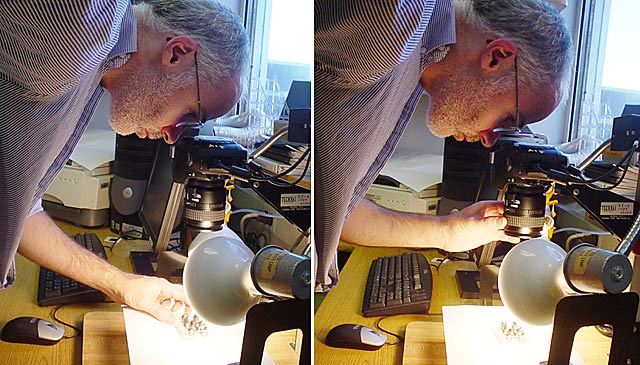
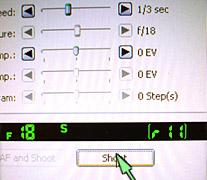
You need to focus through the eyepiece. Then you may snap the
picture by pressing the shutter release on the camera or by pressing the "Shoot"
button on the computer.
 or
or 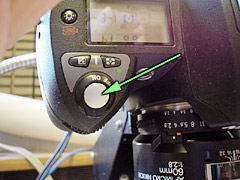
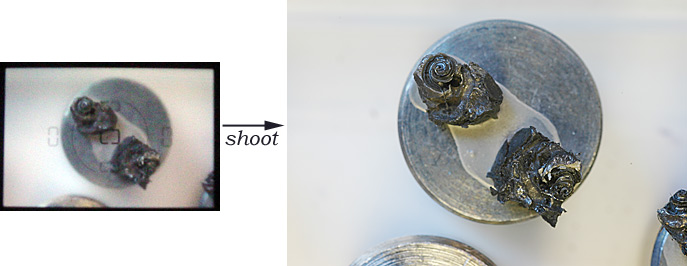
(Of course, the image collected by the computer is much bigger than
the one on this web page. Click
here for the full size image.)
Although the photo shows arificial lighting, in reality the photos
were shot using the ambient light from the overhead fluorescent lights and daylight from
the windows.
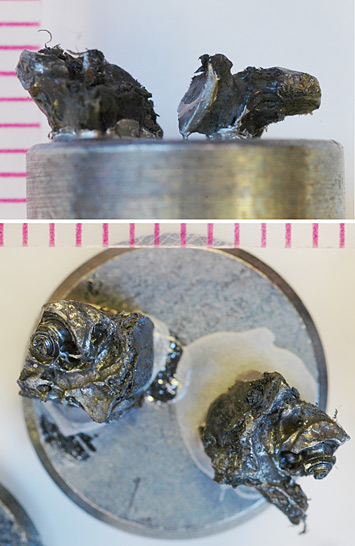 |
Guinea pig cocheae prepared for SEM. For
scale, we included a mm graded ruler in the pictures.
Make sure you include an object of known size for spatial
calibration in all your photographs! |
|