
| |
 Background:
Digital Station #6 was purchased with funds on a Shared Instrumentation Grant to meet the needs of multicolor FISH and other multiprobe high resolution light microscope applications.
Instrumentation:
This is a dual use instrument. The microscope may be driven by the SKY software or by IPLab. The information on this web page is for IPLab use only.
For methods for a paper, you might use the following specifications:
Olympus BX61
100X N.A. 1.4 UPlanSApo
Cooke Sensicam QE cooled CCD camera
IPLab 4 software
Instructions:
These instructions are for using the system with the Cooke Sensicam CCD camera only.
Jump to:
ALL OF THESE INSTRUCTIONS MUST BE
FOLLOWED FOR THE SYSTEM TO OPERATE.
TREAT THIS AS A CHECKLIST. PRETEND YOU ARE CHECKING OFF FOR THE LAUNCH OF YOUR
ROCKET SHIP.
YOU DON'T WANT TO CRASH OR EXPLODE.
1. Mercury arc lamp.
 Mercury lamp off |
 Mercury lamp on |
2. The correct filter
turret must be installed in the microscope. This is the correct turret.
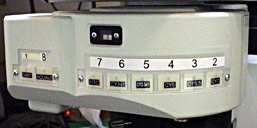
Note that there are 8 positions.
If this is not the wheel installed in the microscope, you must switch to the other wheel.
Click here for instructions how to do this.
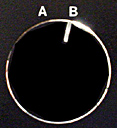
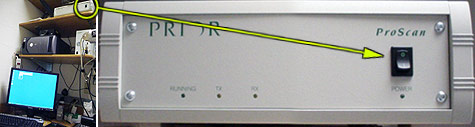
3. Black box on top of computer must have
knob set to "B".
4. After setting the switches above, turn on the
power:
4. Turn on the electronically controlled microscope
stage.
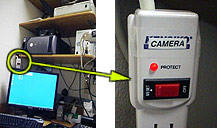
6. Turn on the cooled CCD camera.
7. The computer is usually left on. Check the
screen is on and wiggle the mouse or hit the keyboard to see if computer is sleeping.
If the computer is not on, turn it on.
8. Run the software.
![]()
To Change Objective Magnification
Please change the objective by using the point-and-click menu or by
the keypad.
Before changing objective, make sure to lower the stage so that the lens may crash and
destroy your sample!
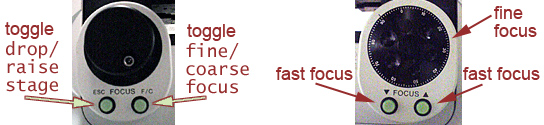
The button marked "ESC" drops the stage. Pressing it again will bring the
stage back to the same position.
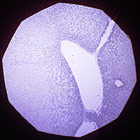
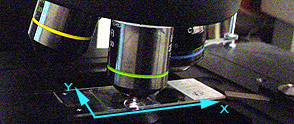
What you see by eye and what you see using the camera
 |
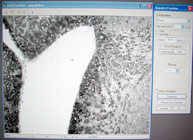 |
What you see by eye through the microscope occulars is a mirror
image of what you see on the computer screen.
Also, the image on the computer screen is only the center portion of the full field you
can see by eye.
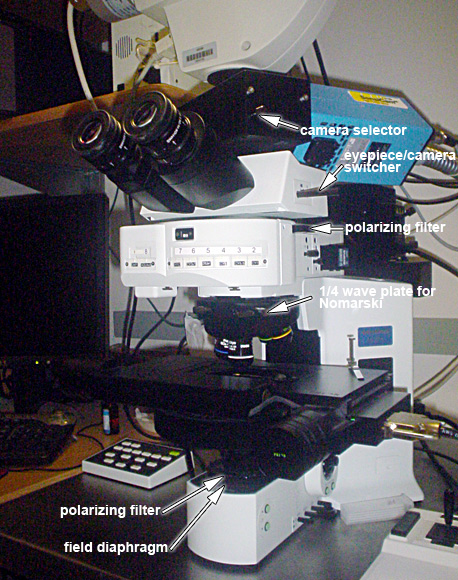
Nomarski / Differential Interference Contrast
There are four filters that must be adjusted properly for DIC microscopy.
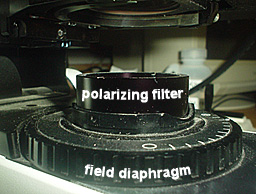
First, the sample must be in focus and set for Koehler illumination with the field diaphragm at the edge of the field and the iris diaphragm (computer controlled) fully open.
The polarizers must be crossed with the two 1/4 wave plates out of the light path.
Then both 1/4 wave plates are reintroduced into the light path for DIC.
The iris diaphragm inside the condenser may be adjusted via computer for increased contrast.
Using the Make Montage Macros, field sizes are as follows:
|
 |
![[picture]](images02/whole_microscope_pol.jpg)
![[picture]](images02/whole_microscope_wol.jpg)